Quick-Start
Demonstration
This short animation demonstrates how to use the key features of PipeDraft in less than 30 seconds. Watch and learn:
Got it? Use the tutorial to learn more about the features shown in the demonstration.
Tutorial
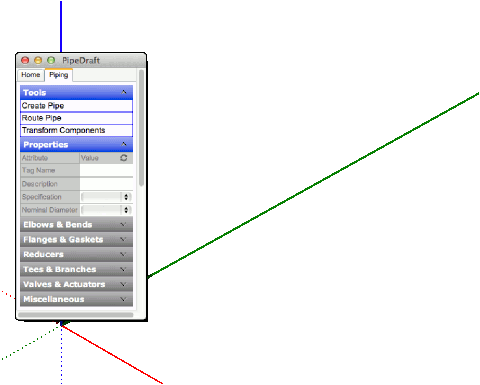
Create Pipe Group
- Click "Create Pipe Group".
- Enter pipeline tag number. (Optional)
- Enter pipeline description. (Optional)
- Select pipe specification, if necessary.
- Select pipe nominal diameter, if necessary.
A "Pipe Group" is a simply a SketchUp Group with additional properties as shown in the PipeDraft palette "Properties" tool tray. The Pipe Group will contain all the individual pipe segments and piping component fittings for the pipeline.
Typically, you will create a new Pipe Group for every contiguous pipeline in your model. For example, if you are working from a P&ID each Pipe Group will be assigned the unique pipeline tag number from the schematic.
When you route piping and insert components, PipeDraft will use the pipe specification and nominal diameter you assigned to the Pipe Group or is otherwise displayed in the palette "Properties" tool tray to select the appropriate components from the cloud-based Catalog service.
Tip: SketchUp will automatically delete empty Groups, so be sure your current Pipe Group contains components before creating your next Pipe Group.
Tip: To resume routing additional branch legs or insert more components into an existing Pipe Group, select it first using common SketchUp selection techniques. For example, use the SketchUp Selection tool, the space bar, or the SketchUp Outliner tool. When a Pipe Group is selected it's properties will be displayed in the PipeDraft palette "Properties" tool tray.
Route Piping
- Click "Route Piping".
- Click several 3D route positions.
The first 3D position you click will establish the starting point of your route. The second 3D position will establish the length and direction of the first leg of the route. The third 3D position you click will be constrained to the elbow sweep offsets available in the current spec and nominal diameter (typically 45 and 90 degrees) and will establish the second leg of the route.
The router will automatically cut-back the previous leg of the route and insert an elbow to maintain your route centerline, whenever possible.
Any additional 3D positions you click will create additional route legs using more pipe segments and elbows.
Tip: Clicking an existing pipe segment with the router tool may close the route if special conditions are met. For example, if the route line intersection with the pipe segment matches one of the branch offsets available in the current spec and nominal diameter (typically 90 degrees) then a branch connection (such as a Tee) will be inserted into the existing pipe segment and the current route leg will be extended to the leg of the branch connection and closed.
Tip: The router tool will also accept 3D position coordinates or the lengths you enter in the Measurements box as an alternative to solely using mouse clicks for all route positions.
Insert Component
- Scroll palette to desired component and click.
- Click a 3D position on pipe segment.
The PipeDraft palette part trays dynamically display the components that are available for the current specification and the current nominal diameter.
Components inserted into an existing pipe segment will split the segment in two if ample space is available, otherwise it will shorten the segment and place the component at the nearest end. If the pipe is too short the component will be placed at the nearest end. Typically, PipeDraft will try to maintain the original end positions of your pipe segments to maintain your original route centerline.
Tip: Components can be automatically rotated about the pipe centerline or flipped end-for-end immediately after insertion by pressing the Up and Down or Left and Right arrow keys.
Transform Components - Rotate
- Open (Pipe) Group for editing.
- Press "Space Bar" to start selection tool.
- Select components to be rotated.
- Click "Transform Components".
- Click near Virtual Connection Position of reference component rotation axis.
- Press Up or Down arrow key to rotate by current degrees.
Every PipeDraft component fitting has Virtual Connection Positions (VCPs) at each port location. For example, a Tee has three VCPs, the first at the inlet, the second at the in-line outlet, and the third at the offset leg. The VCPs can be used as reference positions for PipeDraft tools such as the "Transform Components" tool.
The "Rotation" mode of the "Transform Components" tool becomes active after you click the first 3D position (typically a VCP) and press an arrow key.
The current degree rotation value is displayed in the SketchUp Measurements Box (VCB) when the Transform Components tool rotation mode is active. You can adjust the degree value using common SketchUp techniques.
Transform Components - Move
- Open (Pipe) Group for editing, if necessary.
- Press "Space Bar" to start selection tool.
- Select components to be moved.
- Click "Transform Components".
- Click near Virtual Connection Position of reference component source.
- Click near Virtual Connection Position of reference component target.
The "Move" mode of the "Transform Components" tool becomes active when you click two 3D positions, typically VCPs. The first 3D position identifies your "move from" position, the second position identifies your "move to" position.
Transform Components - Rotate Single Component Around Centerline
- Open (Pipe) Group for editing, if necessary.
- Press "Space Bar" to start selection tool.
- Select component to be rotated with a single click.
- Click "Transform Components".
- Press Up or Down arrow key to rotate by current degrees.
Tip: This operation can also be performed immediately after the initial insertion while the component is still active. The Left or Right arrow key can be also be used to flip the component end-for-end.